
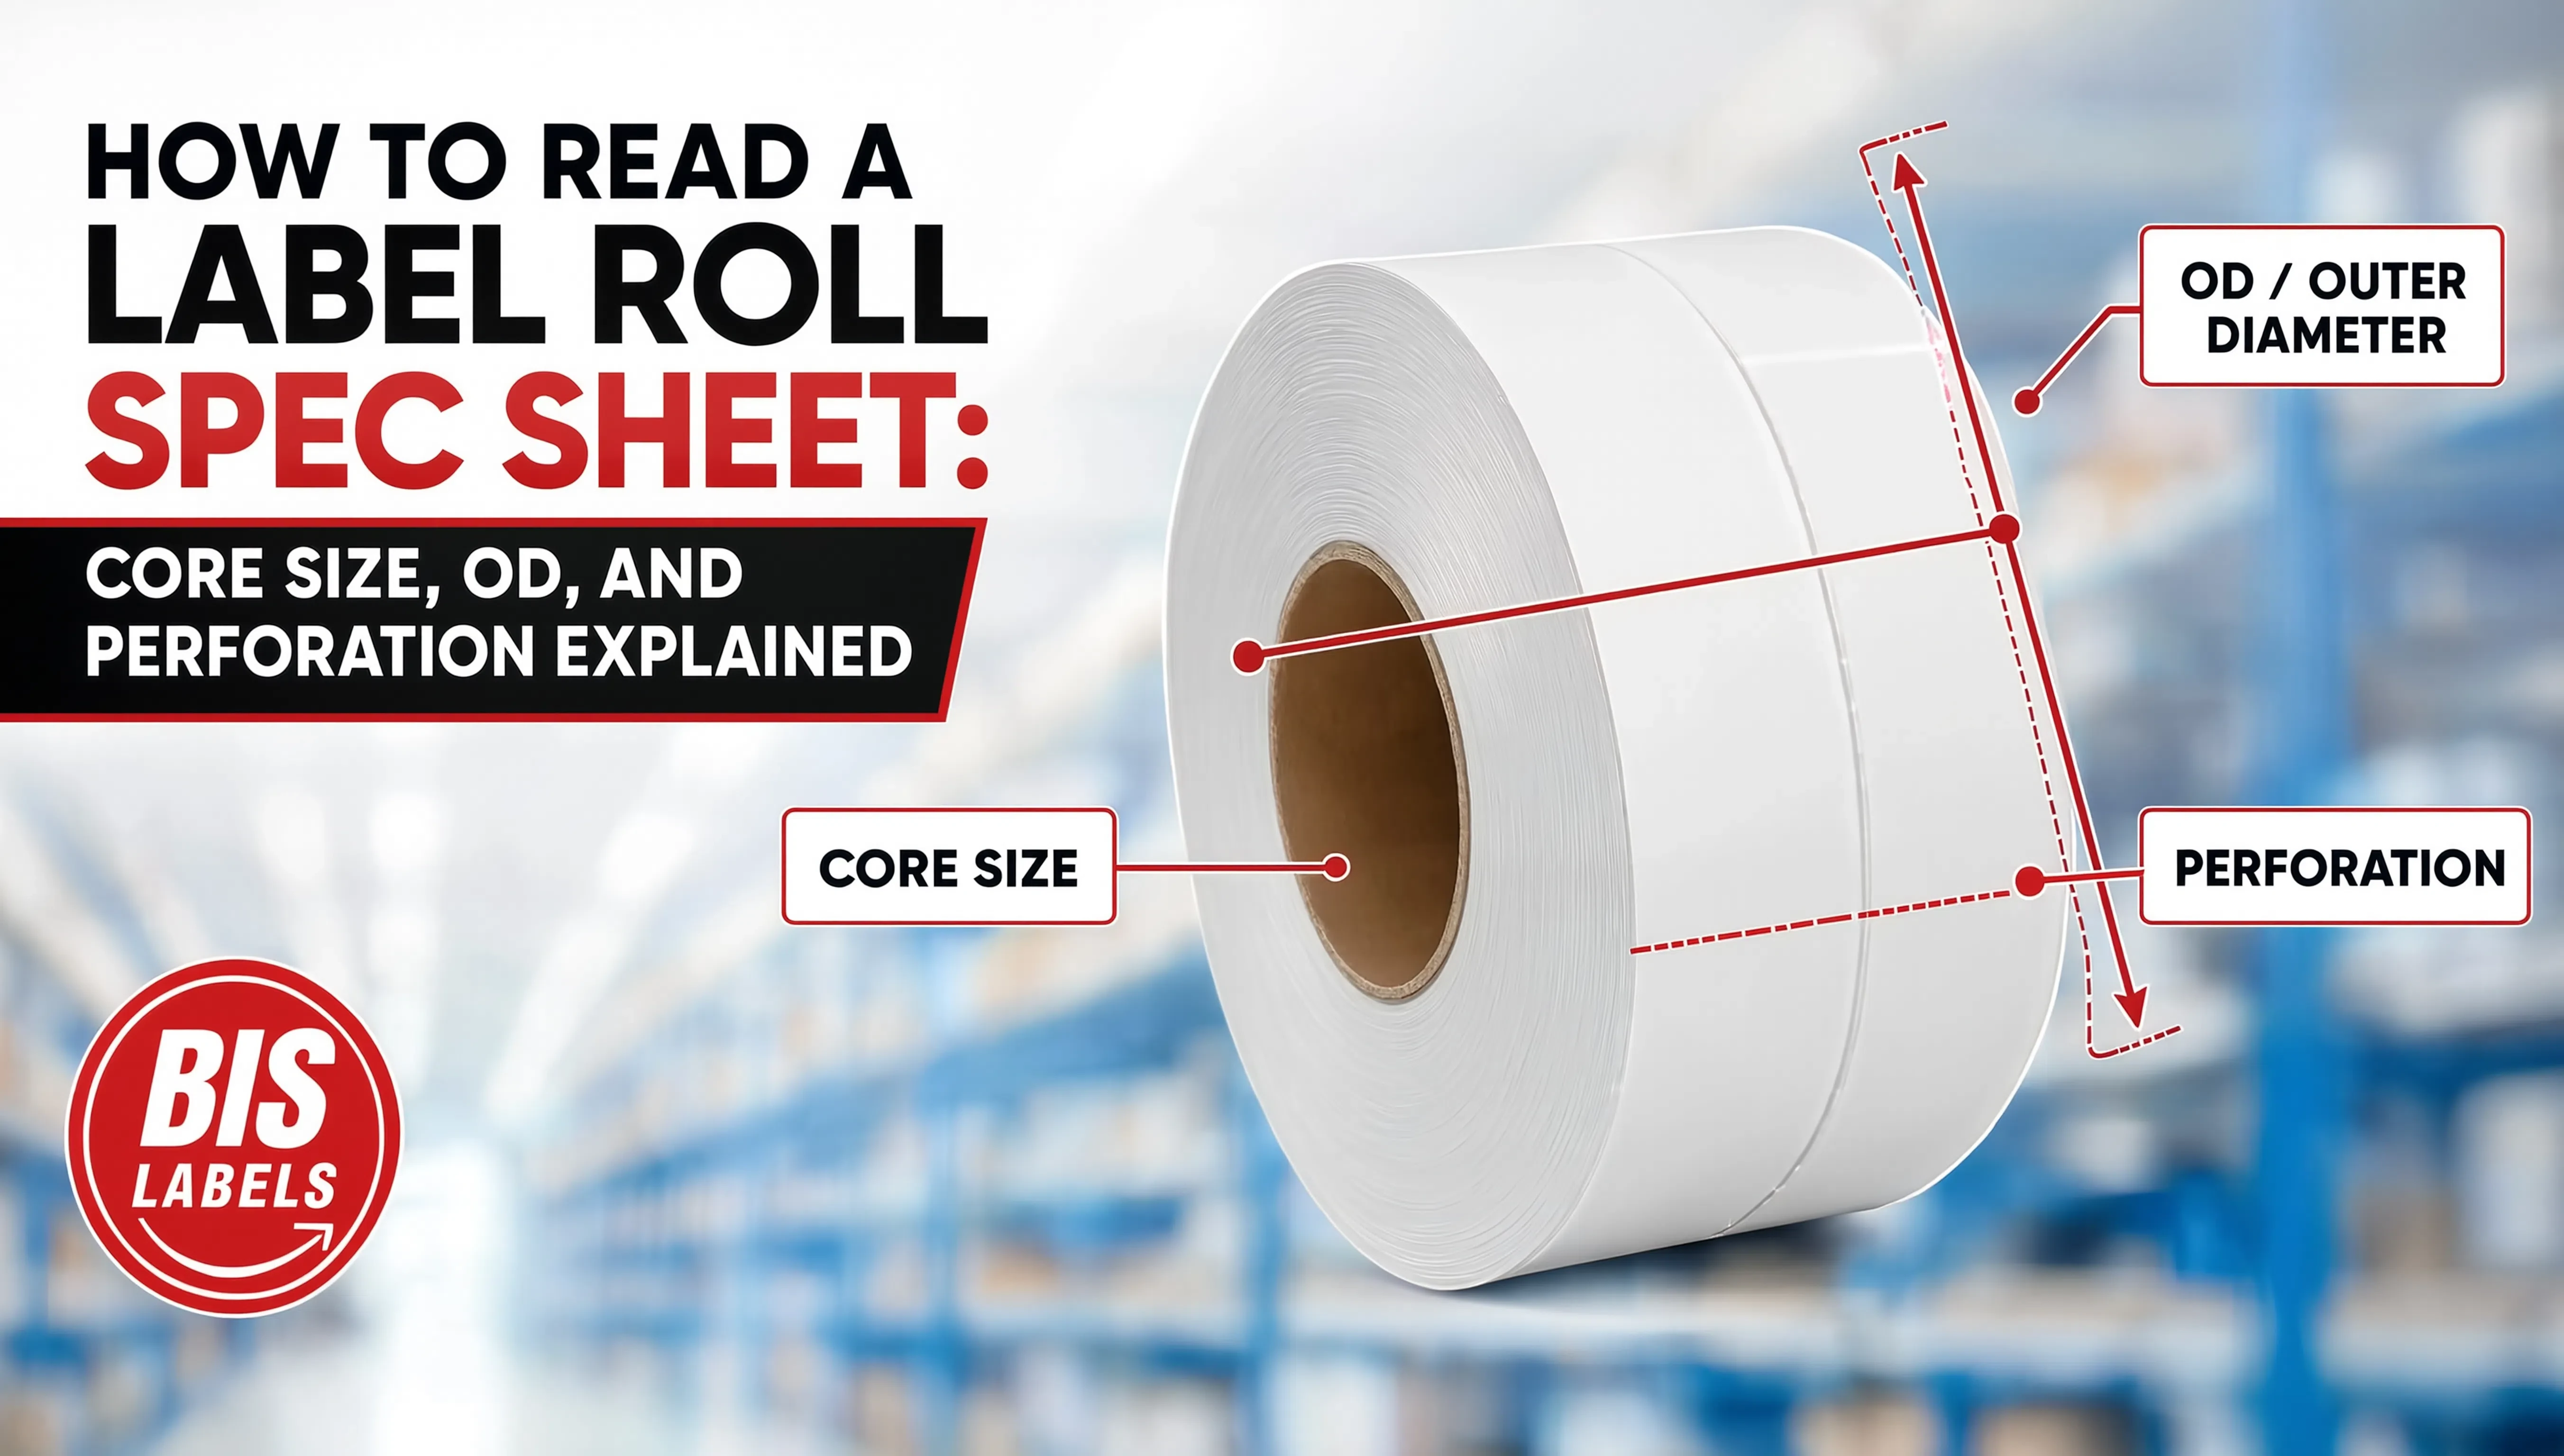
Ordering the wrong label roll is one of the most avoidable, and most common, mistakes in industrial label procurement. The label material itself might be exactly right, but if the core doesn’t fit the printer’s spindle, or the roll’s outer diameter is too large for the mounting bracket, or the printer can’t detect where one label ends and the next begins, the roll doesn’t run. That’s a wasted order, a delayed shipment, and in a busy operation, a line that sits idle while a replacement roll gets sourced.
This guide breaks down the handful of specifications that actually determine whether a label roll will run on your printer, in plain language, so you can read a spec sheet, yours or a supplier’s, and order correctly the first time.
Core Size (Core Diameter)
The core is the cardboard or plastic tube at the center of the roll that the printer’s spindle passes through. Core size is measured by inside diameter, and it has to match what your specific printer model is built to accept, there’s no universal standard across all thermal printers.
The most common core sizes in industrial and commercial label printing are 1 inch and 3 inches, though some specialty and high-capacity printers use other sizes. If a roll’s core doesn’t match your printer’s spindle, it simply won’t mount, this is usually the first thing to check against your printer’s manual before placing an order, especially if you’re ordering from a new supplier or switching label types.
Outer Diameter (OD)
Outer diameter is the total diameter of the wound roll, measured from outer edge to outer edge. This matters for a different reason than core size: it determines whether the roll physically fits inside your printer’s label compartment or mounting bracket, regardless of whether the core fits the spindle.
Desktop and mobile printers typically accommodate a much smaller maximum OD than industrial print engines built for high-volume runs. Ordering a roll with a larger OD than your printer’s compartment can hold means the roll won’t close into the printer at all, even if every other spec is correct. If you’re not sure of your printer’s maximum OD, it’s almost always listed in the printer’s own spec sheet or user manual, worth checking before ordering a new label size or a bulk order that departs from what you’ve ordered before.
Label Sensing: Gap vs. Black Mark
Printers need a way to detect where one label ends and the next begins, so they know exactly where to print and where to cut or tear. There are two common sensing methods, and they require different label construction:
Gap sensing (also called die-cut sensing) detects the physical gap between individual labels on the liner, the small space where there’s backing material but no label. This is the most common method for standard die-cut labels.
Black mark sensing detects a printed black stripe on the back of the liner, positioned at a fixed interval, rather than relying on a physical gap. This method is often used for continuous label stock, unusually shaped labels, or materials where gap sensing isn’t reliable, some translucent or heavily textured liners can cause a sensor to misread gaps.
Your printer is generally configured for one sensing method or the other (some support both, selectable in settings), so ordering label stock built for the wrong sensing type, gap-sensed labels on a printer set to black-mark sensing, or vice versa, will cause misfeeds and misprints even if the label material itself is correct.
Perforation
Perforation refers to whether there’s a scored line between labels on continuous stock, allowing the material to tear cleanly by hand between labels, relevant mainly for continuous (non-die-cut) label rolls, or for tag stock that needs to separate cleanly without a cutter. Not every application needs perforation; die-cut labels on a liner don’t require it since the die-cut shape already separates each label. But for continuous stock used in receipt-style or tag applications, ordering non-perforated material when your workflow depends on hand-tearing clean labels creates a real usability problem on the floor.
A Quick Pre-Order Checklist
Before placing an order for a new label roll, especially from a new supplier, or for a printer you haven’t ordered for before, it’s worth confirming:
- Core size matches your printer’s spindle (commonly 1” or 3”, but verify against your specific model)
- Outer diameter fits within your printer’s label compartment or mounting bracket’s maximum OD
- Sensing method (gap vs. black mark) matches how your printer is configured
- Perforation is included if your workflow requires hand-tearing individual labels from continuous stock
- Label width and length match your printer’s print head width and your application’s label size, a wider label than your print head can accommodate won’t print correctly regardless of the other specs
- Ribbon compatibility, if you’re running thermal transfer, since some ribbon widths need to be roughly matched to label width for even wear (see Direct Thermal vs. Thermal Transfer Labels if you’re still deciding between the two print methods)
Why This Matters More at Scale
A single wrong roll is a minor inconvenience. At the volume most warehouse, shipping, and manufacturing operations run, where a compliance-sensitive application like GS1-128 carton labeling depends on consistent, correctly-fed labels, a spec mismatch that causes misfeeds or misprints partway through a shift can cascade into missed shipments, mislabeled cartons, or downtime troubleshooting a printer that was never actually broken, just fed the wrong roll.
Order With Confidence
BIS Labels’ team confirms core size, OD, sensing method, and perforation against your specific printer model before an order ships, not after a roll shows up that doesn’t fit. Browse our Rolls and additional roll formats, check our label size guide, or request a quote and tell us your printer model; we’ll confirm the spec before you order.